GBP
USD
EUR
Cart is empty
Login / Register
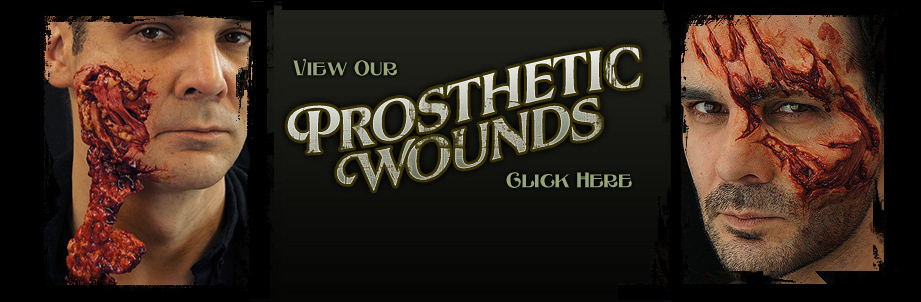
Prosthetic
Wounds
Halloween
Prosthetics
Materials
Silicone
Products
Beyond
The Veil
Prosthetic
Wounds
Halloween
Prosthetics
Materials
Silicone
Products
Beyond
The Veil
Car Crash Prosthetic
£
34.99
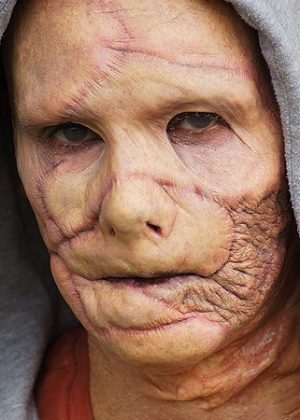
Burn Victim / Facial Trauma Scar Prosthetic
£
44.99
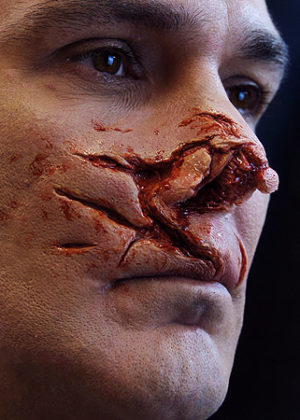
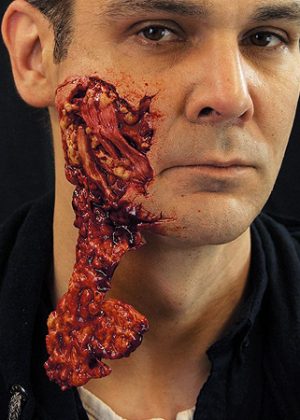
Torn Face Prosthetic
£
35.99
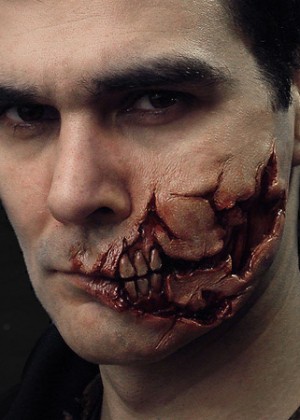
Ripped Face Prosthetic
£
34.99